Are you ready to step up and tackle switching out the brake pads on your ride? Next to oil changes and tires, your brake pads will wear out the most often compared to other parts and systems on your vehicle. Do it yourself and save hundreds over the life of the car.
Brake Pads and the Parts of Your Braking System
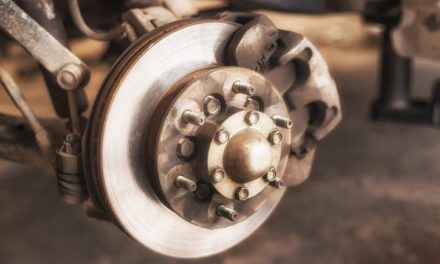
Brake pads are the first part of your brake system that will need to be replaced. They are designed to wear out over time and typically last about 40,000 miles. Your front pads will wear out faster than the rear pads. When the pad surface wears away under braking, it helps to dissipate heat from the calipers, rotors, pistons, and brake fluid.
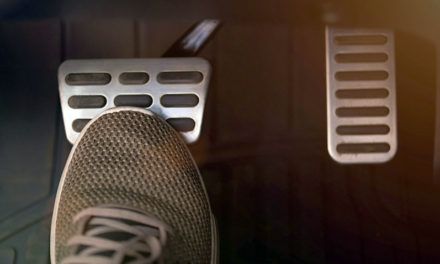
The brake pads are housed inside your brake calipers and held into place by the caliper and some simple clips. They do not move while the car is underway. When you press the brake pedal, the calipers close and bring the pad into contact with the spinning rotor, slowing the car down to a stop.
Which is Best? OEM or Performance Brake Pads
Most passenger cars, trucks, and SUVs on the road leave the factory with non-asbestos organic (NAO) brake pads installed. They are the least expensive and do a good job of providing consistent stopping power, limiting braking noise, and extending the longevity of the braking system. They are made out of fibers, rubber, glass, adhesive, and other compounds.
Ceramic pads are the most expensive pads on the market. They produce less dust, are very quiet, and deliver superior stopping power. On the other hand, they do not dissipate heat as effectively as NAO pads, which results in faster degradation of the rotors, brake fluid, and lines.
Metallic pads are the go-to choice for performance vehicles and trucks that operate under extreme conditions. They perform very well in high heat and extreme cold. They are noisier than NAO and cost a little more. Available in a range of alloys, do your research to determine which is best suited for your application.
DIY Brake Pad Installation Tips
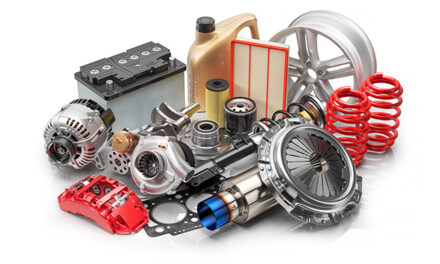
If you own a basic set of tools, you probably have everything needed to change your brake pads, except a piston retracting tool. The kit is available for under $50 and will work with most vehicles. Other tools needed for the job include:
- Jack stands
- Socket wrench and sockets to fit your caliper
- Lug wrench
- Bungee Cord
- Turkey Baster
- New pads
- New hardware (if not already included in the new box of brake pads)
- Brake fluid
Pro Tips
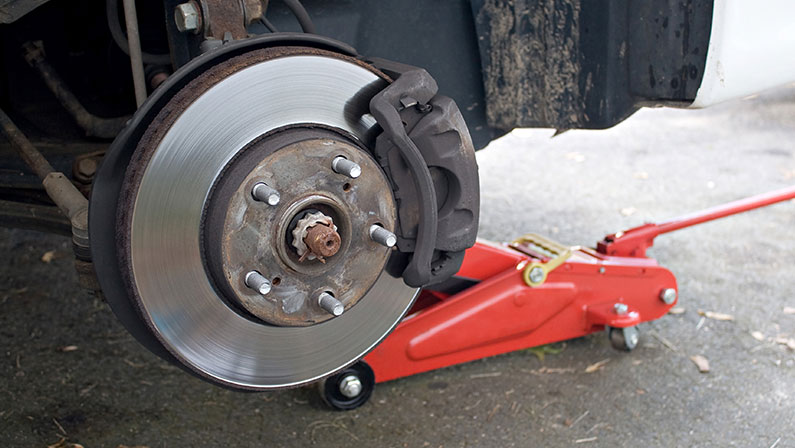
Place the car on jack stands and also support the frame with your jack as a safety backup.
Once the wheel is off, turn the steering wheel so that you have access behind the brake assembly while you work.
If you don’t have a brake retracting tool, you can use a socket wrench and c-clamp to retract the piston and lock it open.
Once the caliper is free, use the bungee cord to hang it from the control arm. This prevents damage to the caliper and brake lines.
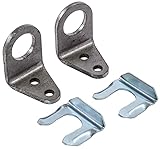
Your new brake pads will typically have a new set of clips in the box. Take the time to switch the clips out to prevent their failure while you are rolling. A broken clip can get jammed in the pad, preventing the brakes from working properly.
It takes about 30 minutes to change the brake pads on one wheel. Change the pads on both sides of the front or rear brakes at the same time to ensure even braking.