Though some automotive mechanics want everyday people to think brake maintenance is an egregiously difficult challenge that takes a considerable amount of time, effort, and knowledge, the little-known truth is you can perform brake maintenance on your own. In particular, brake maintenance on older vehicles is easy as they have fairly straightforward brake systems with comparably few parts, components, and systems to tend to. Let’s take a quick look at how to perform DIY brake maintenance.
Prepare for the Project
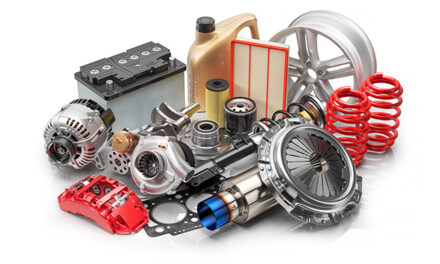
A few tools will be necessary to perform brake maintenance in the proper manner. Those who work on their vehicles with any sort of regularity will have the majority of these tools on-hand. You will need the following:
- Jack and stands to remove the wheels
- Creeper and roll-around seat to ameliorate access and facilitate comfort during the maintenance session
- Lug wrench
- Breaker bar
- Rubber mallet
- Brake cleaner
- Eye protection
- Gloves
- Towels
- Wrenches including a torque wrench and a line wrench for optimal grip
Embrace the Challenge of Changing Your Vehicle’s Brake Pads
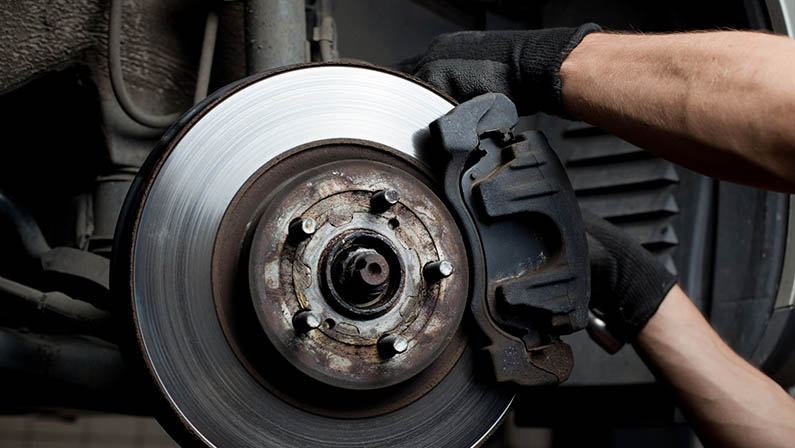
Changing vehicle brake pads is one of the simplest forms of brake maintenance. Every brake pad eventually requires replacement. In general, you can expect 50,000 miles out of your vehicle’s brake pads. It should take less than an hour to swap out the brake pads in the front. Here’s how to do it:
- Remove the wheel along with the caliper
- Pull out the brake pads
- Recess the pistons to the calipers prior to the installation of the new pads with the use of a C-clamp
- Leave the worn pad in the cradle with a clamp jaw on the rear of the caliper bracket
- Tighten the jaw down on the brake pad
- Remove the master cylinder’s lid, allowing the fluid to move upwards through the brake line
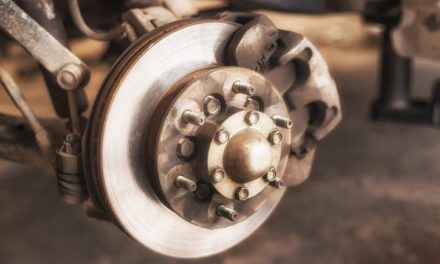
Changing Brake Rotors and Calipers
Brake rotors are bolted to the hub of the wheel. Ideally, you will swap out the brake rotors while the brake pads are off. If your vehicle’s brakes are subjected to high levels of heat, opt for 2-piece iron rotors featuring an aluminum hat that mitigates the chances of cracking. However, if you use your vehicle for everyday purposes rather than racing or mountain-grade descents, factory replacement rotors will suffice.
Adding new calipers will only take a couple of minutes. Use a ratchet to take off the bolt and access the caliper. Be sure to bleed the brakes after you replace the calipers as air will move into the system during this DIY brake maintenance. Though tempting, the use of locking pliers to seal off a hose and prevent brake bleed is a bad idea as it can lead to internal damage that might not be visible with the naked eye.
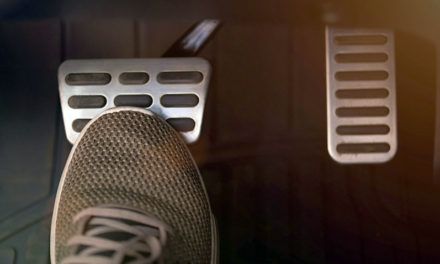
Tend to the Brake Fluid
Don’t forget about the brake fluid! Hydraulic brake fluid is the lifeblood of your vehicle’s brake system. It is best to change the brake fluid when the brake pedal has a sponge-like feel upon the application of foot pressure. If the brake fluid is not clear or yellow in hue, change it right away. Be sure to only fill the reservoir between the Max and Min indicators. Finally, do not use a brake fluid container that has already been opened as the fluid has likely absorbed moisture in the meantime.